HQ Bird Cage Assembly 1

Last Updated on by

You Can Do It!

Assembly will take about an hour for the not-so-mechanically-inclined. We’ve got it down to about 20 minutes but we do it a lot. Always start by building the stand first. Insert the casters and then proceed to assemble the frame/shelf assembly. 1/4 inch bolts with Phillips heads go into the holes easily. Nuts are comfortable to manage. Put the top horizontal bars on first, the shelf next. Keep everything loose. Go back and tighten things up after all the nuts and bolts are placed in the frame.

We like to assemble the cage right on the frame, especially if we’re solo so we don’t have to try to pick the cage off the ground and place it on a moveable stand. The cage is fastened with longer fine thread brass screws that go into threaded sleeves already mounted on the cage frame components. We recommend a light duty electric screw driver or a Phillips head driver on your cordless drill (set the clutch slippage high on the drill to prevent over tightening).

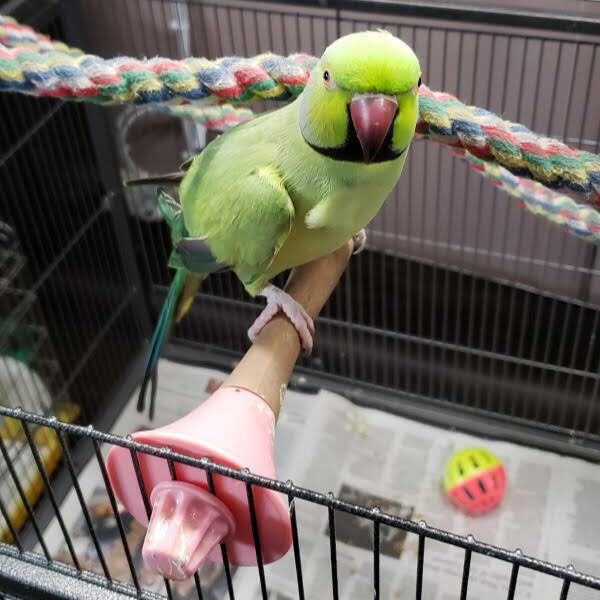
It’s quicker to remove the all the screws first, you’ll thank us here for the cordless suggestion because they’re all already threaded half way into the frame. Place a side wall on the stand, a second person would be helpful but not essential to attach the back cage wall by inserting the brass screws through the frame, finger tightening for starters and then finishing with your choice of tools. Continue clockwise with the right wall and the front. The top will go on once the four sides are up. The plastic removable tray and metal grill form the bottom of the cage. Place perches and feeder cups to your liking.

If you’re still not sure that you can put it together, email us when you place your order and we’ll schedule a time to coach you through it by phone at no charge.

Leave a Reply

This site uses Akismet to reduce spam. Learn how your comment data is processed.

Close Menu